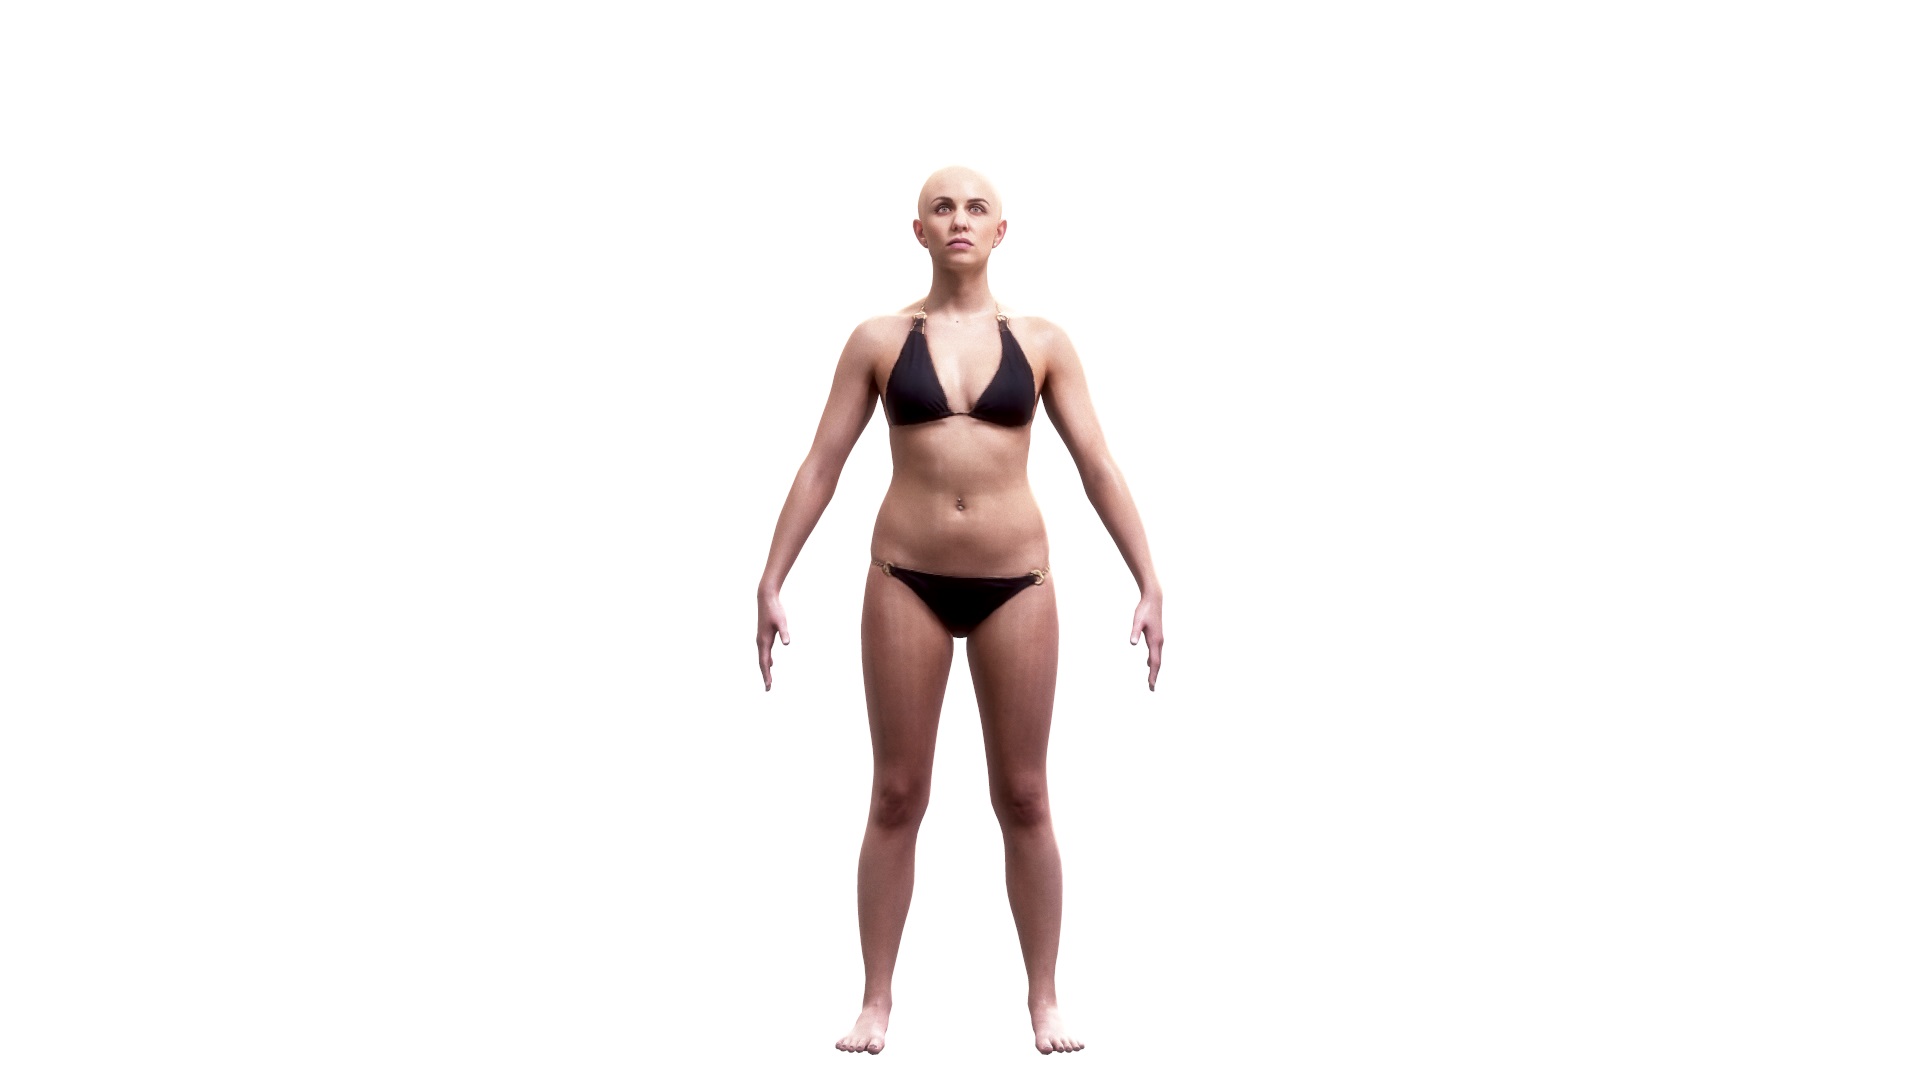
Texture Cleanup Process

Texture Cleanup
Texture Cleanup process begins when exporting a re-projected texture from Agisoft Photoscan to a file.
The issues that may encounter when you open the file in Photoshop is that some areas will be blocked off completely, or, perhaps, areas under the armpits will still have some ambient occlusion. Lastly, the bounce from the light rig may be weighted either towards the top or the bottom of the subject. Therefore it is important that we even out the texture at this stage to avoid the look of baked in lights. One way to do that is through Frequency splitting, for which you will be able to find plenty of tutorials on YouTube.
Most importantly, when you're doing texture cleanup, make sure mouth and eye corners match, the area under the nose is clean, and the ear halo does not get projected onto the back of the head.
…
If you have any wishes, suggestions or feel this article could be improved, please, do not hesitate to leave us your comments in the section below.
Best Regards,

Ruslan Vasylev
Founder
Professional 3D Modeler with 17 years of combined VFX and Games experience, managing Vancouver-based 3D Scanning Studio,
Servicing Visual Effects for Film, Television, Games and Virtual Reality production studios.